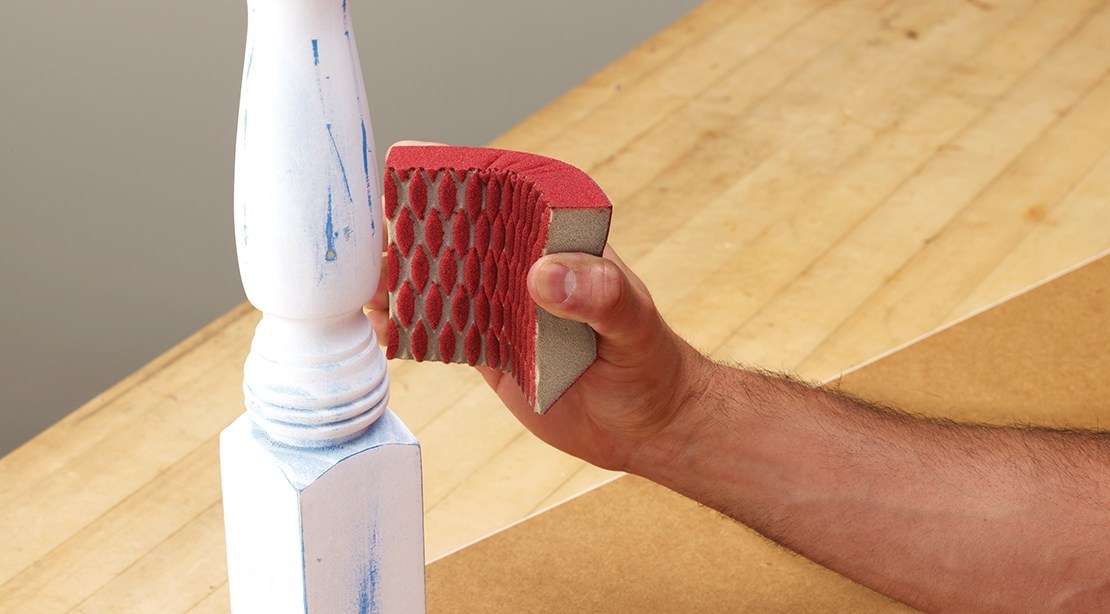
Sanding before painting is an important part of the paint prep. You can generally gauge the type of sanding that will be needed by thinking about the type of surface you’ll be working with. Let’s take a look at some different approaches for different surfaces…
Sanding before painting walls
- Not much sanding is typically needed unless you have dings, nail pops, or a hole. If you do, you’ll need to do some patching and then sanding prior to painting.
- You might want to do a light sand with fine abrasives to remove any small imperfections and to ensure better paint adhesion.
- If you do a light sand, choose an abrasive sheet that attaches easily to a hand or pole sander. If you’re spot-sanding dry mud or patching compounds, consider an abrasives sponge that resists loading. And be sure to tack off any sanding dust using a tack cloth.
Trim/molding/cabinets/furniture
- If it’s new, there won’t be much sanding required. You might want to do a light sand with fine abrasives to remove any imperfections.
- If you do a light sand, be sure to tack off any sanding dust using a tack cloth.
- If it’s been in place a while, you’ll need to sand out any scratches. Fill any holes with wood fillers. Then, you’ll want to sand that to smooth out the surface.
Staining wood
- Strip off any old stain.
- Sand down – with the grain – and rough up the entire surface to absorb new stain.
- Sand – again, with the grain – between coats of polyurethane.
- Always work through a sequence of abrasives grits, from coarse to very fine, skipping no more than one grit between stages.
So Amigo, do you recommend any other sanding tips? Share below…
Also, check out Paint Amigo’s sandpaper recommendations below…
No products found.
P.S. Download my free eBook The Profitable Painter. Click here.


